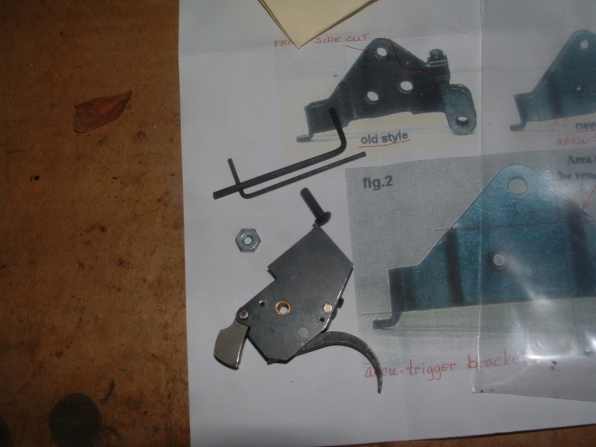
Sharp Shooters Supply recently had a sale on the older model Competition Triggers, which required modification for use on Accutrigger model guns. Since I had an older model 110 I bought one. The trigger allows setting the trigger pull down to under one pound. More information on available SSS triggers can be found here.
Opening the zip lock package revealed the self contained trigger assembly, a screw, a locknut, two allen wrenches and instuction sheets. Most of the instructions pertained to the modifications required to make the trigger work with accutrigger model guns.
I was a little nervous about the paucity of the instructions for a standard assembly, given the difficulty I have had adjusting factory triggers. However, my fears were unfounded. The design of the SSS trigger, with the separate sear lever (the peice sticking out of the housing) and trigger sear make for a simple installation and easy adjustment. The critical release surfaces are the trigger and lever built into the trigger.
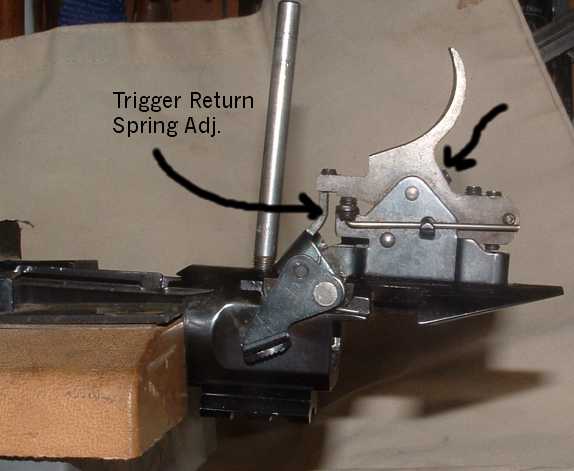
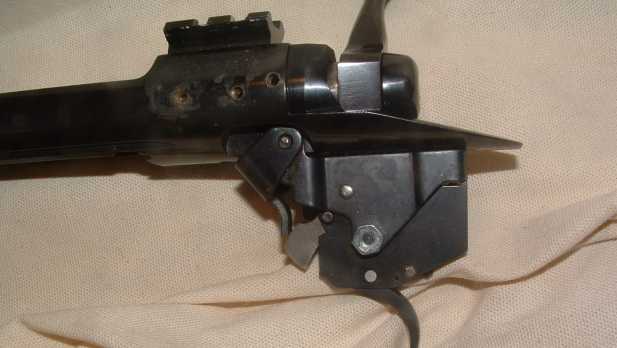
As per the instructions, I started with the action upside down. The older model Savages have a trigger pin set screw holding the trigger pin (as shown above on arrow on the right), rather than a clip as described in the instructions. I loosened the screw, and also removed the trigger spring adjutment screw and the spring. (the spirng is a straight piece of steel). I was then able to push the trigger pin out. Here is the trigger with the spring removed:
 With
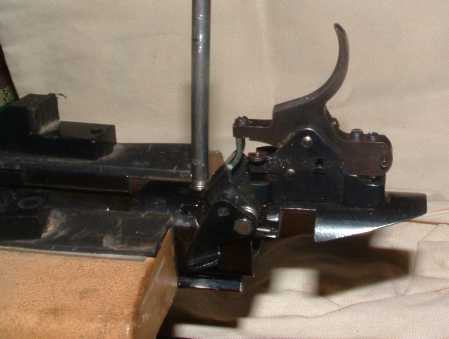
the trigger out, the new trigger just slid in. The spring loaded lever pushed
the trigger into proper postion so all there was to do was insall the trigger
screw in place of the old pin (it threaded into the hole) and put on and tighten
the locknut.
With
the trigger out, the new trigger just slid in. The spring loaded lever pushed
the trigger into proper postion so all there was to do was insall the trigger
screw in place of the old pin (it threaded into the hole) and put on and tighten
the locknut.
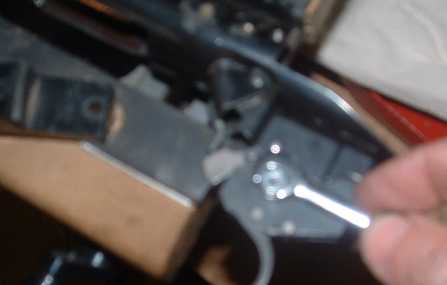
Compared to the pictures and diagrams, it seems I threaded the trigger screw from the wrong side, but I checked the clearance with the stock and there seems to plenty of clearance for the lock nut, so I left it the way it was.
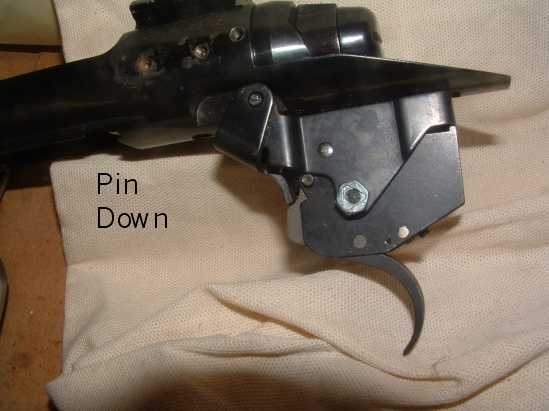
The operation of the trigger is as follows. WIth the bolt open the original rifle sear swings all the way forward, and the spring loaded sear lever on the SSS trigger swings out.
When the bolt closes, the rifle sear is forced back which pushes the sear lever against the trigger. As can be seen the original sear is not resting against a critical surface but is held securely by the lever.

When the trigger is pulled the lever drops down to release the rifle sear and drop the firing pin.
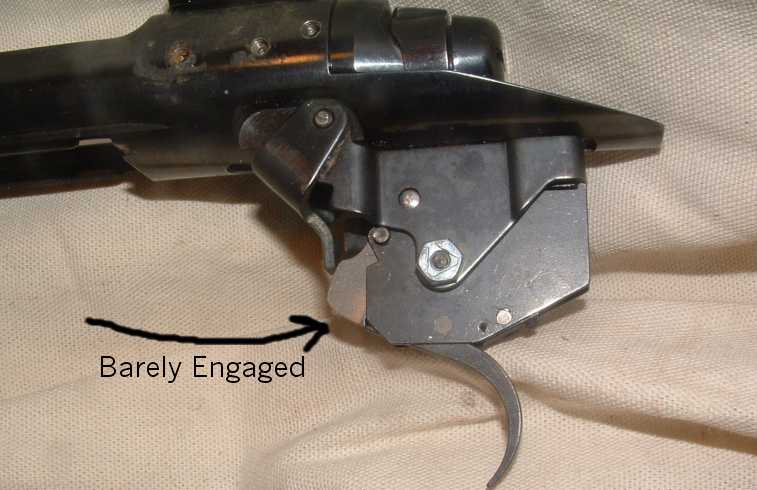
With the trigger in, everything just worked. The safety prevented firing the rifle, overtravel was minimal and the trigger dropped at less than 1 lb. However, with the safety on the trigger moved noticably when pulled and I could see that engagement of the trigger and sear lever was right on the edge of the trigger.
I turned in the safety adjustment screw 3 1/2 turns until trigger movement was almost non-existant with the safety on.
The only other adjustment was I turned the pull adjustment screw a littel over 2 turns to bring the pull up over 1 lb. Adjustments screws turned with some resistance and seemed positive. (No locktite needed.)
All in all, a simple install to get a quality trigger pull.